
The Print Templates component in Site Stacker lets the admin print reports based on many different context. In this component, an admin can configure parts of a PDF like; the header, footer, body, and pages. If you are looking for how to print receipts and year end statements for donors you can review that here.
The key sections of this tool are
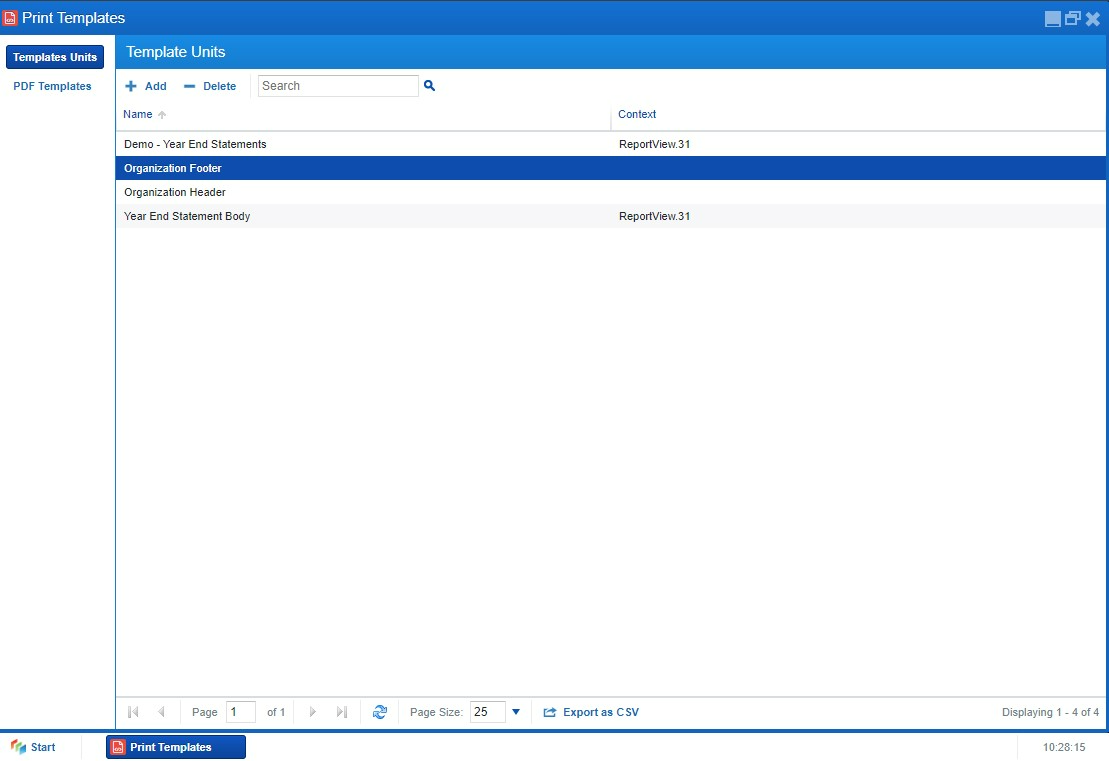
- Template Units
- These units make up the content of a PDF or a section of a PDF
- Available variables and helper formulas are found on the right
- HTML will be converted to PDF
- PDF Templates
- This is where units are combined and managed including
- PDF Global Options
- Margins
- Page Size
- Page Orientation
- Pagination numbering
- Pages
- Within each page further settings can be set
- Parts of the Page
- Header
- Body
- Footer
- Page options
- Context Settings
- Grouping
- This controls how an export will break pages to repeat the PDF contents based on the grouping
- The most common will be Household Id so each household will get a single letter or receipt out of the PDF.
- This controls how an export will break pages to repeat the PDF contents based on the grouping
- Separate Files
- Checking this will have the export generate unique files instead of a single big file. The group value will append the file name.
- Grouping
- Parts of the Page
- Within each page further settings can be set
- In this section of the tool the PDF can be previewed without any filters applied to the data.
- PDF Global Options
- This is where units are combined and managed including
- Tips and Tricks
- Making edits or a new PDF
- If can be helpful to use the Duplicate feature on an existing template unit so that you can make changes without the risk of breaking and existing PDF or having to start from scratch.
- Run a test print
- Printers are known to interpret margins differently across models and brands. Make sure you do a small test print on the printer you will be using for the bulk print to ensure the styling matches your design.
- Windowed envelopes
- If you are using windowed envelopes for mailings and the address is not lining up correctly you can use the absolute positioning on a section of text to be able to control to the pixel where it will display. It is also helpful to use the outline styling to see exactly how you are influencing it.
- EG <div style="width 10pxl height 10px; position: absolute; top: 10px; left: 10px; outline: 1px solid red;">
- If you are using windowed envelopes for mailings and the address is not lining up correctly you can use the absolute positioning on a section of text to be able to control to the pixel where it will display. It is also helpful to use the outline styling to see exactly how you are influencing it.
- Making edits or a new PDF
The screenshots below show the parts a report can be configured.


NOTE: To make the variables 'smart' (not show if there are no values in that field), please use the smarty commands. For example, to make the phone to only show if there is a phone number value, you can use this command - {if !empty($row.0.c_variable number)}{$row.0.c_variable number}{*Phone*}{/if}.

You would also need to add a smarty command for the table to show all the data you would need. For example, to show all donations towards different campaigns, you can add the {foreach $rows as $row} {/foreach} command. Remember to add the variable first, then add the {foreach} command from the source code in the body (see attached screenshots below).


Once all parts of the report have been added to the Templates Units, an admin can then go to the ‘PDF Templates tab. This is where the Templates Units are used to construct the report. Clicking the ‘Add’ button will present a window in which the report format is set. After configuring the settings and saving, an admin can then right-click on it and click ‘Manage Template Pages’.
On this page, the admin can now select the template to be used for the header, body, and footer of the report. An admin can also add multiple pages to a report. For example, a report for a summary can be added as the first page and a more detailed report can be added as the second page of the report.
An admin can also preview the report before finalizing it for production.

Modified on Mon, 4 Dec, 2023 at 3:29 PM
Was this article helpful?
That’s Great!
Thank you for your feedback
Sorry! We couldn't be helpful
Thank you for your feedback
Feedback sent
We appreciate your effort and will try to fix the article